

In the Garden with Kerry Heafner

Alright, y’all, lots to consider and lots to do this month, so let’s get started! Lawns, where to begin? How about here: turfgrasses are plants, too. They have roots, stems, and leaves just like other plants. And, they’re green, meaning they photosynthesize to manufacture their own food. All of our Deep South turfgrasses (Bermuda, Centipede, St. Augustine, and Zoysia) carry out C4 photosynthesis. This means the first stable carbon compound formed in this biochemical binge is a four-carbon molecule (oxaloacetic acid then malic acid, if you’re keeping score at home). C4 plants are adapted to hot, high light environments where atmospheric carbon dioxide is at higher concentrations than in other places. Other well known C4 grasses include corn and sugar cane. Some non-grass plants are C4, too, like the familiar spotted spurge, a weed that seems to materialize out of thin air. C4 plants thrive in our summers, are more efficient at assimilating carbon dioxide, and use water more efficiently than plants that carry out C3 photosynthesis, which is most others. But, our lawns are not actively growing during the winter months. They go dormant. Or try to despite Mother Nature sometimes. As the number of daylight hours increases in spring and temperatures warm up, lawns come out of winter dormancy and resume growth. The point of all this is: lawns are most vulnerable to being stressed when they’re going into and coming out of dormancy.
Last year, lawns were stressed by 1) the Arctic blast in December, 2022, 2) the late freeze in spring, 2023, and 3) a very hot, dry summer of 2023. Lawns in many areas of the state, including the ArkLaMiss, were still in the process of going dormant when the December arctic blast hit. Then in spring of 2023, lawns were snapped by a late freeze as they were coming out of dormancy. Both cold weather events stressed lawns. Record heat and drought last summer added insult to injury. Lawns that could not be adequately irrigated were stressed even more. Stress on top of stress. In some cases, lawns died down to bare soil. I looked at an untold number of stressed, dead, and dying lawns last year and some patterns emerged. We can’t control Mother Nature. She has the final word.
Here are some tips to keep in mind and some steps to take that should help your lawn perform like you want it to in 2024.
Don’t apply fertilizer to your lawn this month. Wait until it comes fully out of dormancy. This includes “weed and feed” products and lord knows what else lawn services want to start applying this month. Our lawns are still dormant in February. Most of the green you’re seeing this month is either weeds or ryegrass if the lawn was over-seeded back in the fall. Applying fertilizer this month may force lawns out of dormancy prematurely. New growth will be susceptible to a late freeze. In February, weed. Don’t feed.
If employing a lawn service, obtain a list of chemicals applied to your lawn at each visit. Make sure the list has both brand name and chemical name of each product. If problems arise and I’m called to look at your lawn, which I will gladly do, one of my first questions will be “Has anything been applied to your lawn?” That will be helpful in diagnosing the problem(s). Also, never let someone who doesn’t hold a current commercial pesticide applicator’s license from the Louisiana Department of Agriculture and Forestry apply commercial-grade chemicals to your lawn. Any lawn service worth their salt will be glad to present their license number.
• There is a world of difference between a corn field and a residential lawn. Never use a product not specifically labeled for use on residential lawns. Local garden centers stock plenty of products that are perfectly suited for private, residential use. Products labeled for use in big agriculture situations are not the way to go for a home lawn.
Ironically, rice is not a C4 plant. What’s up with that?

SEEDS
Question: What do yogurt containers, supermarket salad containers and rotisserie chicken containers have in common? Answer: they all make splendid containers for starting seeds of spring and summer crops. If you’re new to gardening and on a budget, fear not. You’ll be amazed at how cheaply seeds of your favorite spring and summer veggies can be started and how easily seedlings can be transplanted to the garden when you get them off to a good start.
February is the month we start seeds for spring vegetable crops like tomatoes, peppers, eggplant, etc. Every season, it seems much ado is made over what type of light to use indoors when seedlings emerge. I see novice gardeners spend exorbitant sums on light rigs that seem better suited for the International Space Station than a home gardening situation. It’s nice to see garden nerds on social media, but the whole light thing gets taken way too far. Here’s the deal. With light, both quality and quantity matter. Of all the wavelengths of the visible spectrum, peak light absorption in chlorophyll occurs in the red and blue wavelengths. Green wavelengths of light are reflected by chlorophyll and not used for photosynthesis. This is why we see plants as green. For quantity, light can be thought of as a particle of energy called a photon. The quantity of photons per unit leaf area is important. Without getting into all the “gobbledygook,” full sun plants, which is just about everything in the vegetable garden, require about 3,000 lumens per square foot of growing space. A full spectrum, low heat output shop light adjusted to three or four inches above the seedlings should work fine for most seedlings. LED lights are also available. Ambient light in a greenhouse works best. Even on cold days, sunlight will penetrate and warm the greenhouse. Most seeds germinate under the soil surface in total darkness. The light is for the seedlings. There are some seeds that require light for germination, like celery seeds. A sunny window is sufficient for these.
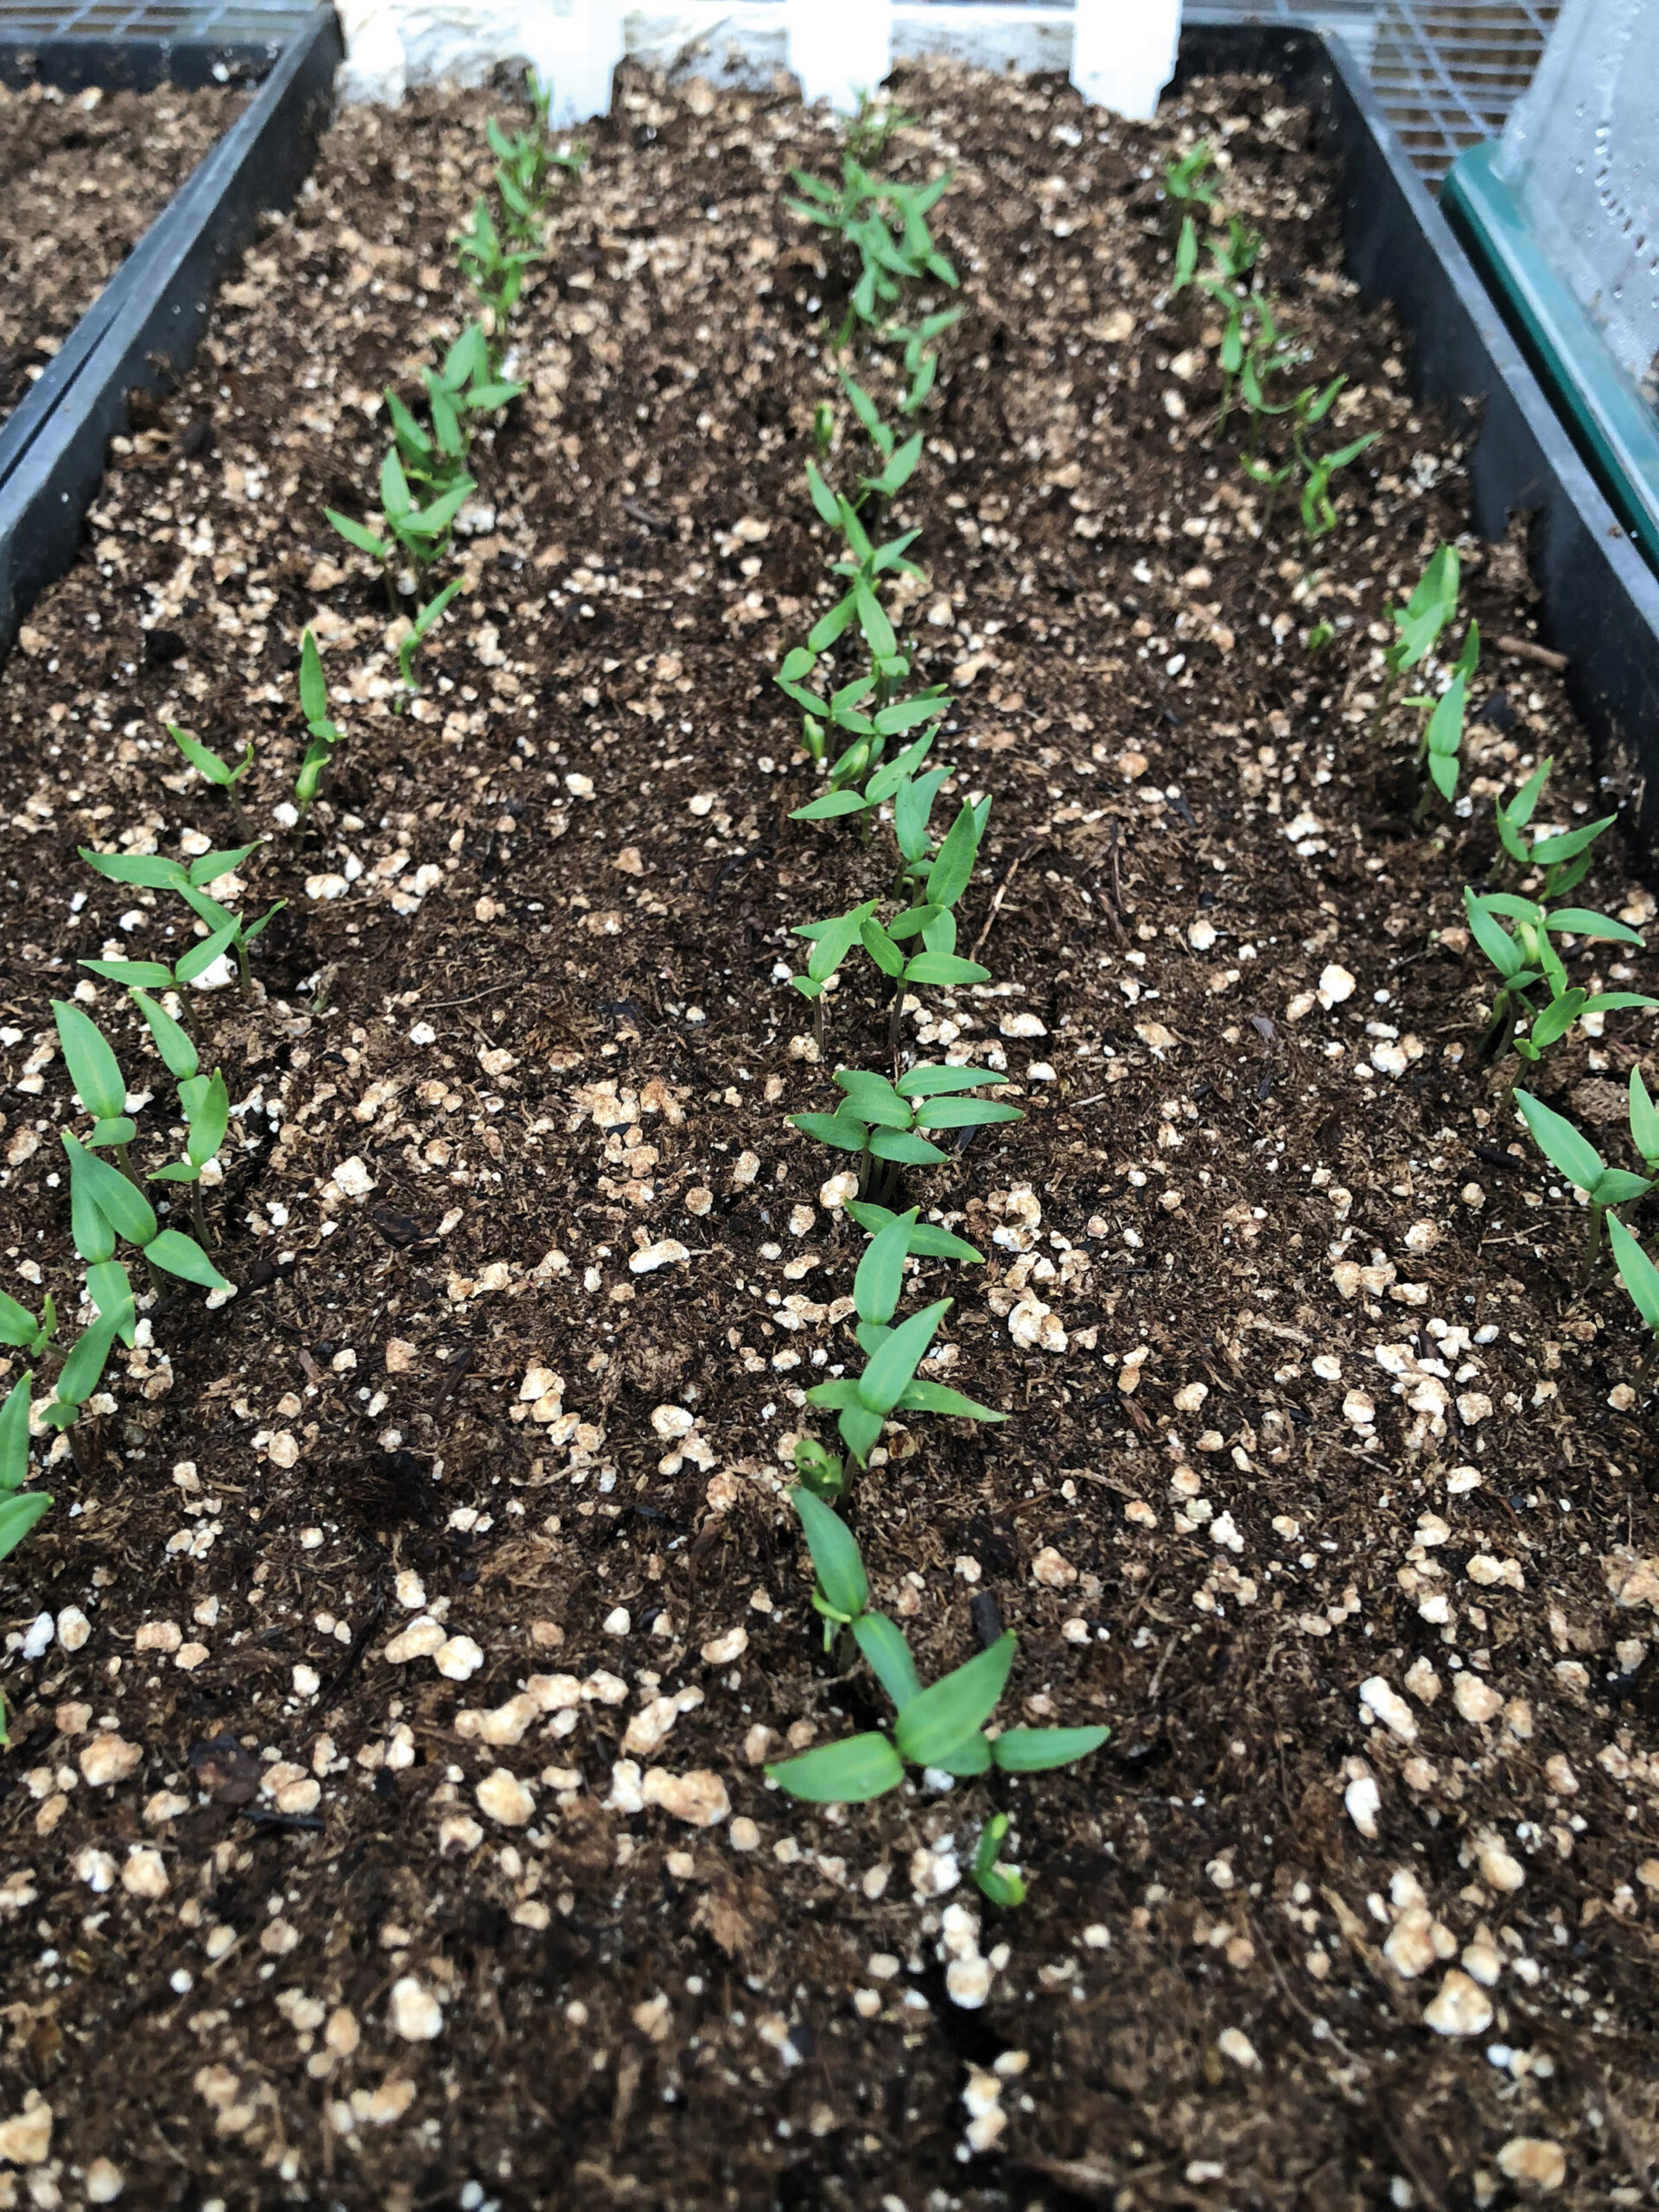
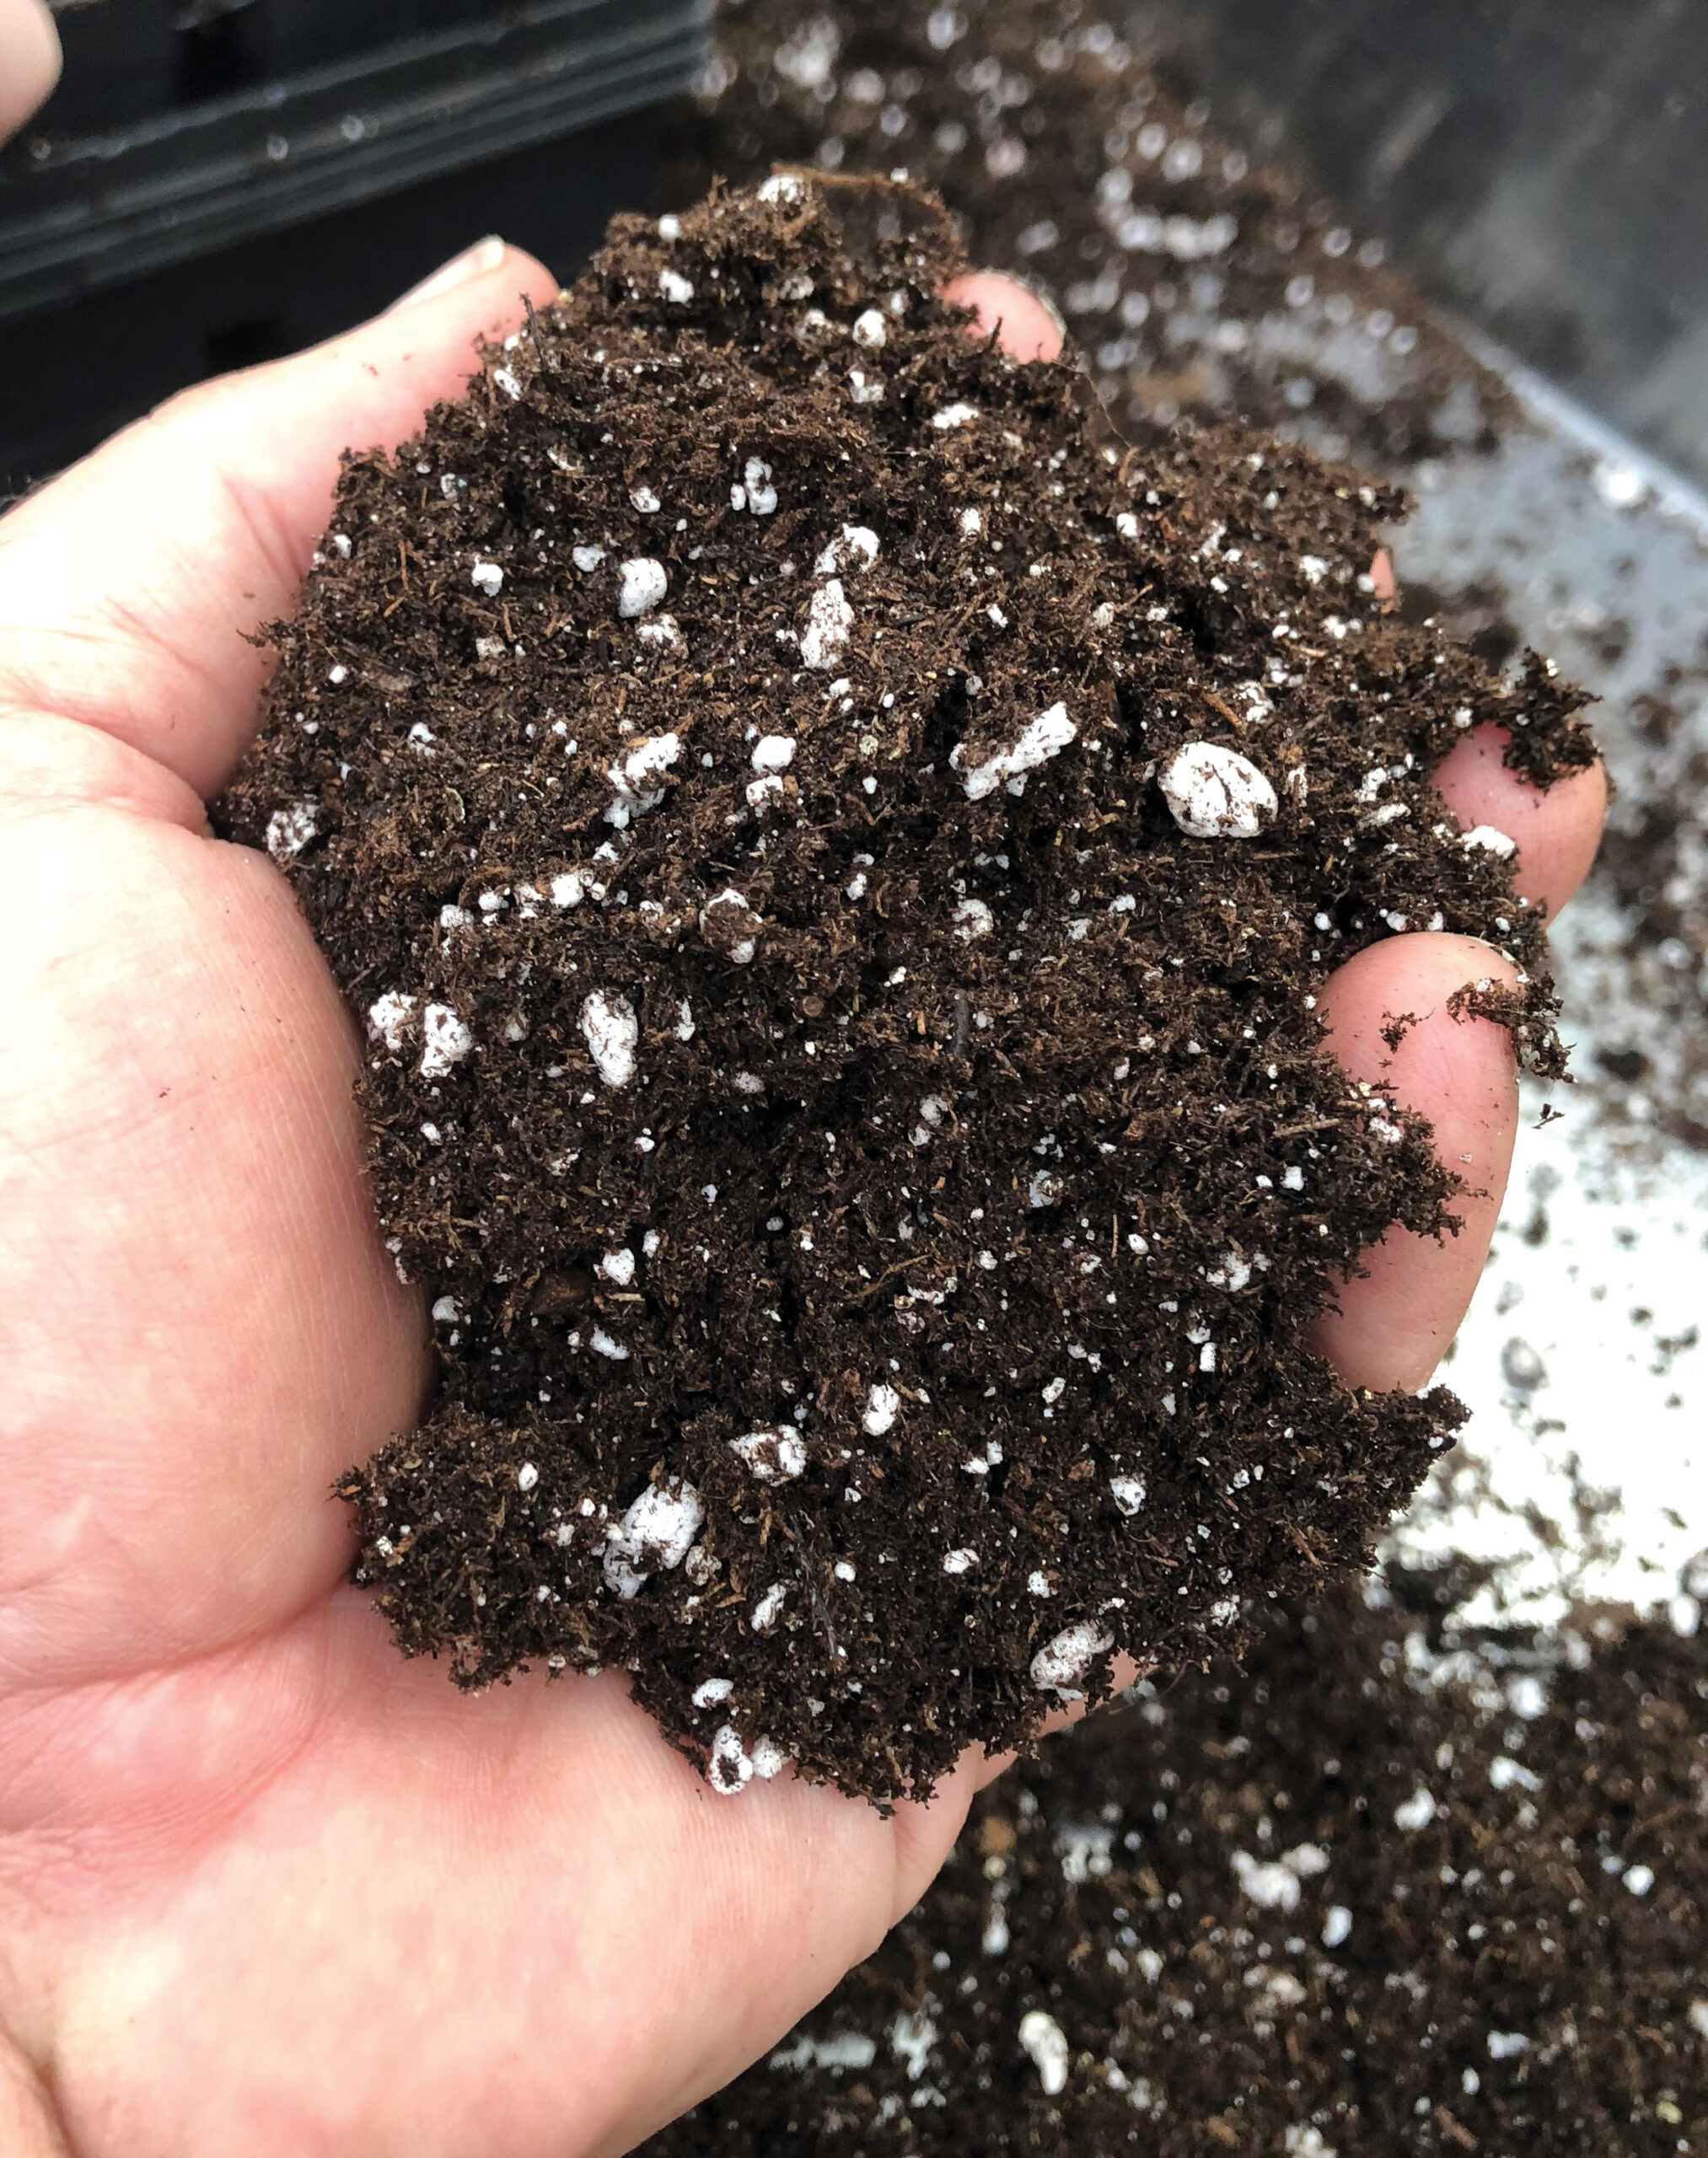
A number of seed starting mixtures/media are available but I find they are overpriced and difficult to initially wet. Seeds germinate more readily in a moist medium that is free of debris like twigs and chunks of bark. My favorite medium for starting seeds in is a 1:1 mixture of screened, homemade compost and Premier Pro-Mix®. My grandfather, who supplied the community back home with ‘Better Boy’ tomatoes, turned me on to Pro-Mix back in the 80s. He swore by it, and always had a bale in his greenhouse. He also had a germination box for his tomato seeds that was, shall we say, “homemade.” His personal record for tomato seeds was four days. I can still hear him, “Reece, look here!” If you can’t get Pro-Mix, any generic potting medium will work fine. Make sure it contains either perlite or vermiculite so it drains well but stays moist. Medium that stays too wet or even saturated will result in fungal issues like damping off. Also, make sure that whatever container you’re using to start seeds in has holes in the bottom for drainage. Very important. The seed packet should give the appropriate depth at which to sow the seeds. In general, anywhere from a quarter of an inch to and eighth of an inch is fine but this also depends on the size of the seeds. The smaller the seed is, the shallower it needs to be sown. Carrot and celery seeds, for example, can simply be sprinkled onto the surface and lightly pressed in for good contact, then covered with no more than an eighth of an inch of soil.