

In The Garden
Article by Kenny Heafner

Alot is going on this month, so let’s get outdoors and get after it! First thing is to finish up planting woody perennials. Be making final selections at garden centers and get shrubs, trees, and fruit-bearing trees/shrubs/vines in the ground by the end of the month. Spring will be springing and woody perennials will perform better in the long run if they’re planted while dormant. Spend some quality time preparing the planting hole. Make it two to three times wider than the root ball or the pot, so the root system has plenty of room for uninterrupted expansion. Heavy clay soils should be amended with peat moss or other organic material. But, no fertilizer should go into the planting hole. Fertilize later this spring at bud break or, in the case of evergreens, when new growth is apparent. Take time to space the planting holes far enough apart to allow the canopy of the young tree or shrub to expand uninhibited. For example, fruit trees should be spaced fifteen to twenty feet apart assuming their grafted onto semi-dwarfing rootstocks.
February is also the month roses get a good haircut in anticipation of the spring and summer bloom. The goal for pruning roses is really no different than for pruning anything else: to open the interior of the plant to promote good air circulation and to allow sunlight penetration for promotion of new growth. Remember the four Ds of pruning: diseased, damaged, decaying, and dead. This material should be removed first. Outer canes can be taken down by about a third. Look for lateral buds facing outward and make the heading cut about 1/8th of an inch above, and parallel to, the outward-facing lateral bud. The new cane will grow outward and should produce a bevy of blooms over a long season if spent blooms are removed. Fertilize with either a slow-release fertilizer, something specially formulated for roses, or with something as simple as good old triple thirteen. Freshen up the mulch layer with new pine straw, and your roses will be set to perform all season long.
Just when you thought we were past all the holidays, one more pops up. February 18th is National Tomato Seed Starting Day. That’s a holiday I proclaimed. It’s not official or anything. It should be. We should all get the day off from work to get our tomato seeds started. In fact, seeds of other nightshades like eggplant and peppers can be started in February. Keep the following tips in mind when starting seeds.
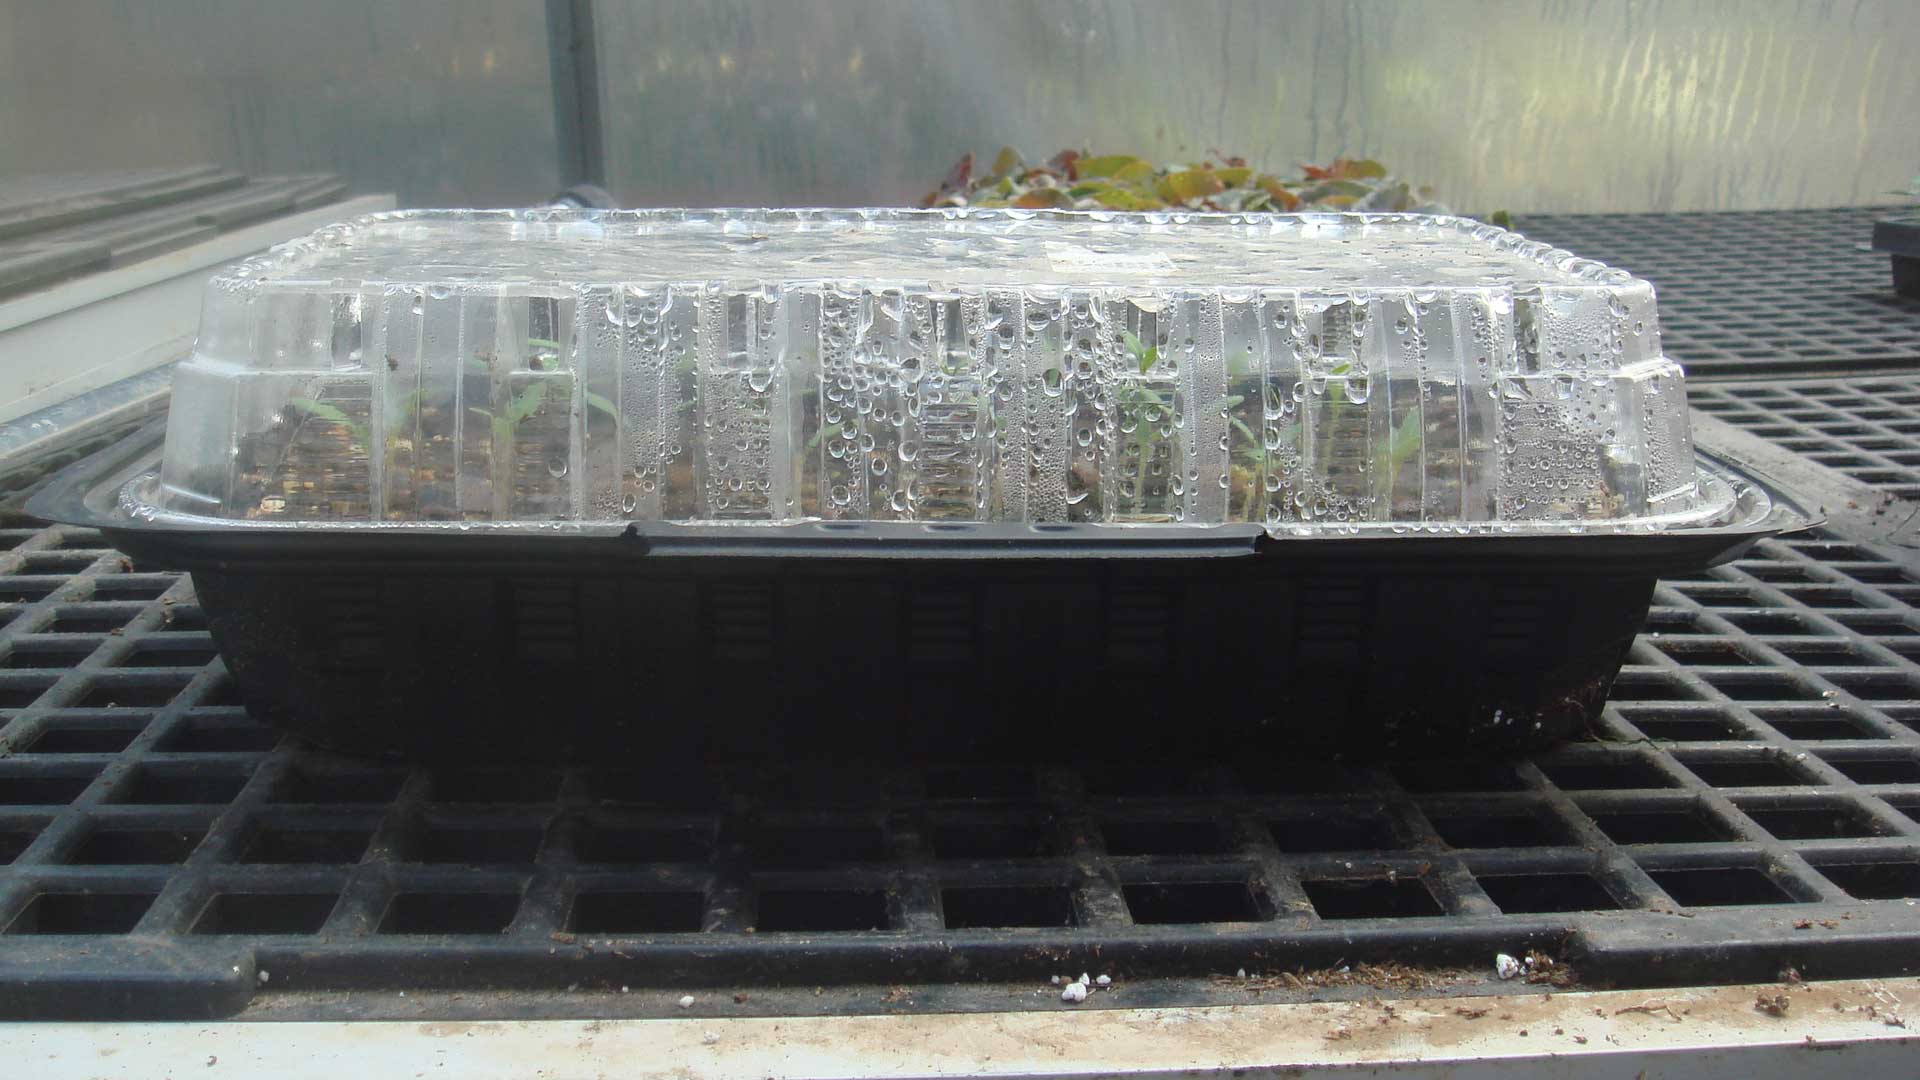
• Seed trays with clear, plastic domes are widely available. However, seeds can be started in just about any container provided it has drainage holes at the bottom. Salad containers from fast food restaurants and chicken containers from grocery store delis make perfect mini-greenhouses.
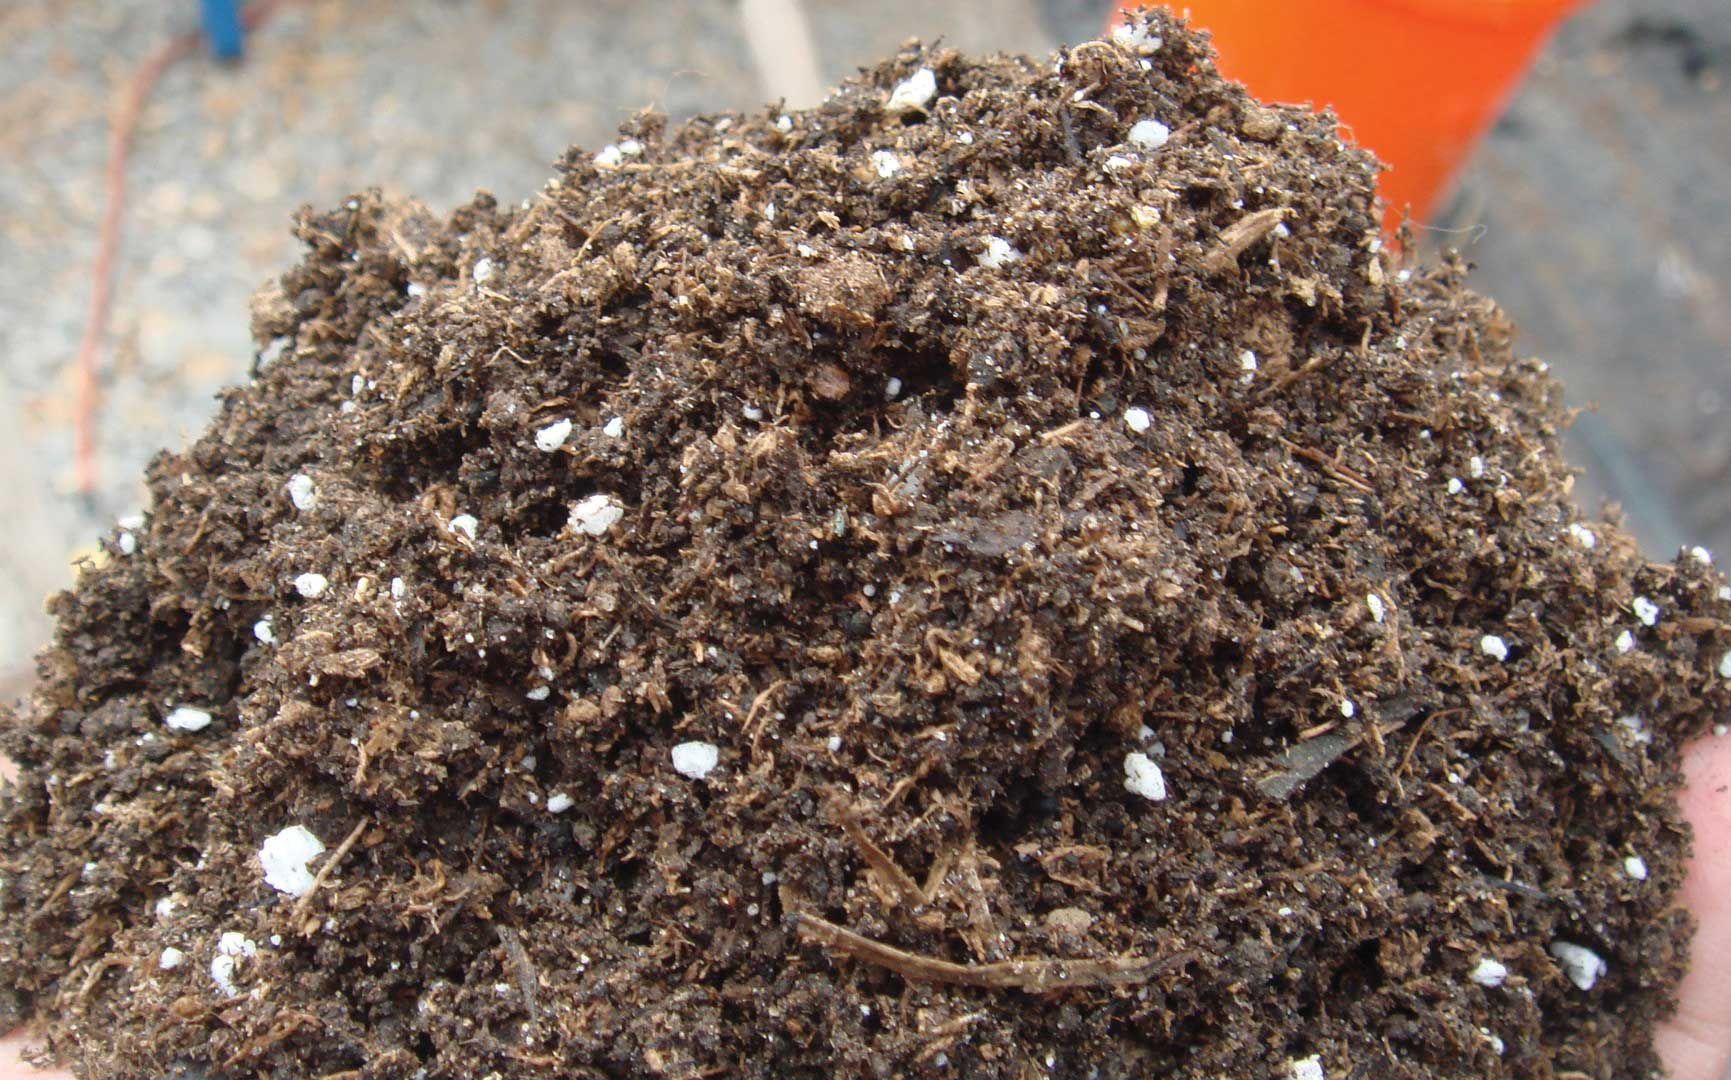
• There are media specially prepared for starting seed available at garden centers. However, any general use potting medium will work fine. I like to use my own concoction consisting of one-part sifted compost and one part Premier BX Pro-Mix.
• If temperatures are chilly, place seed trays on a heating mat made specifically for horticultural use. The temperature of the medium is more important than air temperature.
• Sow most seeds between one-eighth and one-fourth of an inch deep.
• Most seeds take between four and seven days to germinate while some take even longer. Be patient.
• Keep the medium moist, but not saturated. A highly saturated medium will mold and lead to damping off.
• Transplant seedlings to larger cells or pots only after the first pair of true leaves has emerged.
• After transplanting, gently brush over seedlings with your hand periodically. This promotes sturdy stem growth and will result in stocky plants.
• Label everything! I do this because I can barely remember my own name sometimes, much less the names of all the varieties I start.
Good luck with your seeds this month! Try something new just for fun, too!
Out in the vegetable garden, February is the month for getting Irish potatoes started. I’ve said before potatoes are possibly the most perfect food. They are a gluten-free, healthy source of carbohydrates (starch). Culinarily, they are among the most versatile of crops. And, whether you like them baked, boiled, mashed, fried, or any other way and whether they’re grow in the ground or in containers, Irish potatoes are a crop even the most inexperienced gardener will have great success with.

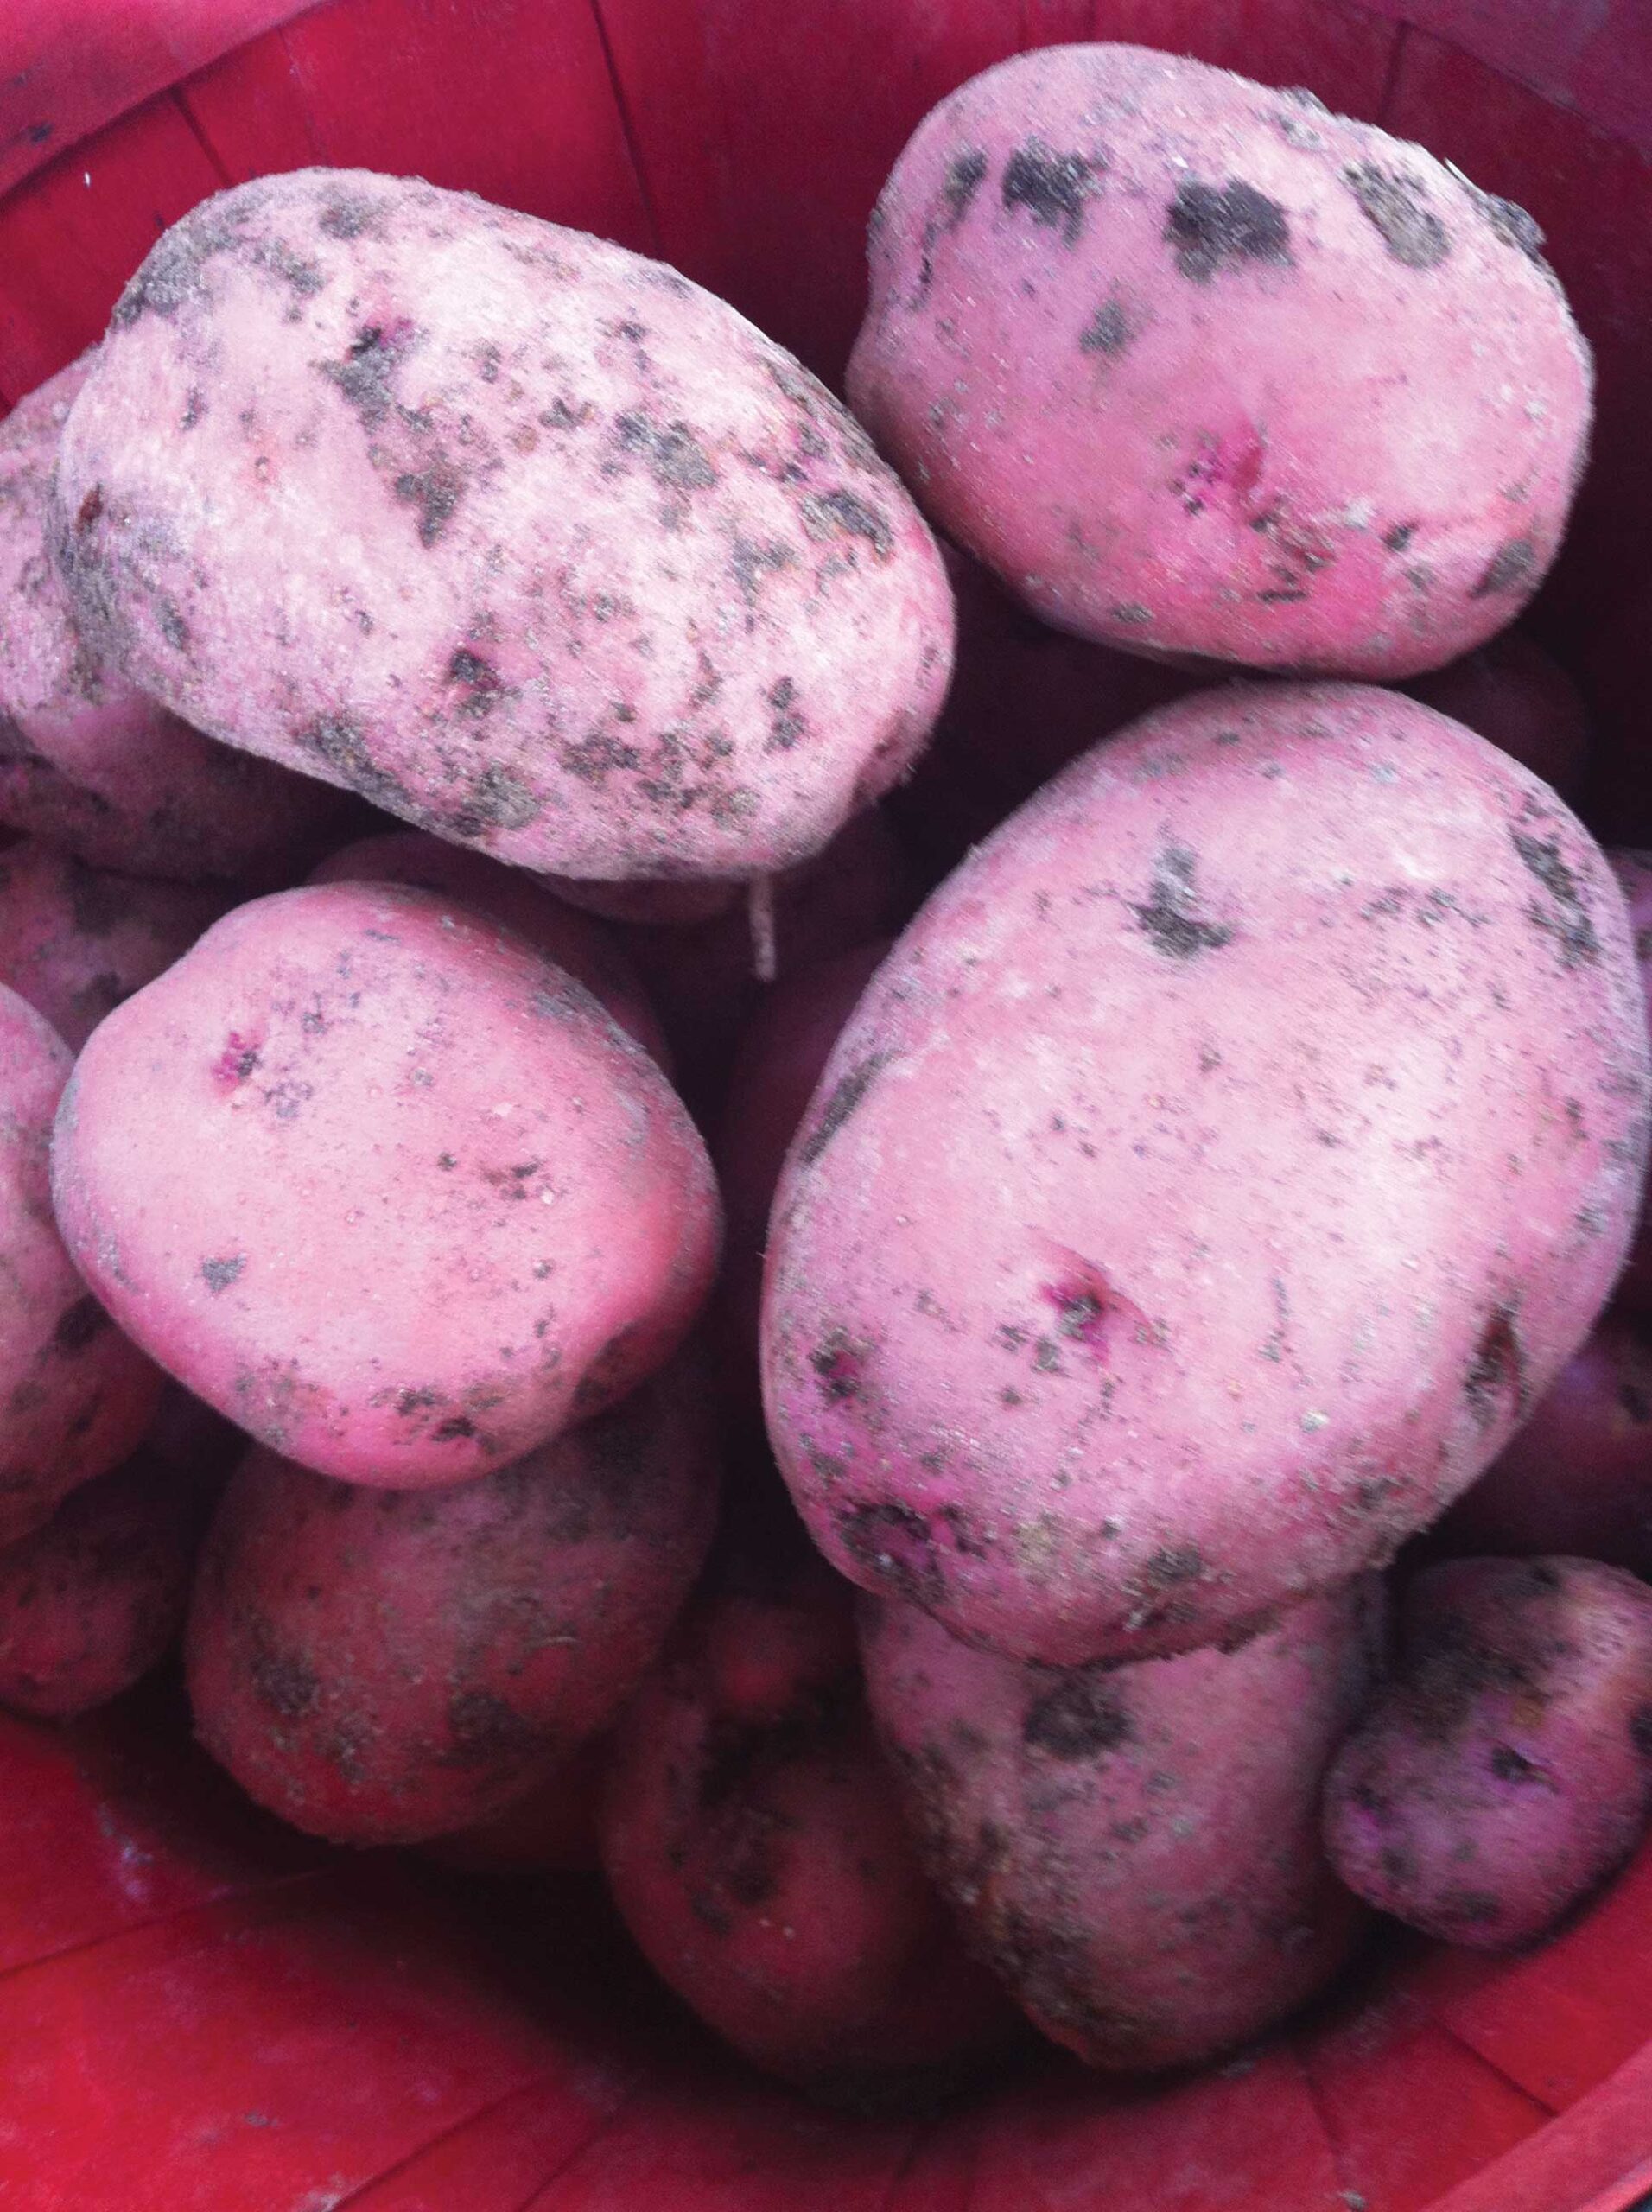
Irish potatoes are essentially a clonal crop. “Seed potatoes” from last year’s crop are planted to produce this season’s crop. Botanically, Irish potatoes are tubers which are underground stems modified to store up carbohydrates produced via photosynthesis (going on in the leaves above ground). Vegetative sprouts (lateral branches) grow from the “eyes.” Mother Nature and biochemistry do most of the work! The LSU Ag Center recommends ‘Red La Soda,’ ‘Norland,’ ‘La Rouge,’ and ‘Red Pontiac’ as good, red-skinned varieties, and ‘La Chipper,’ ‘Norchip,’ ‘Atlantic,’ ‘Kennebec,’ ‘La Belle,’ and ‘Yukon Gold’ as good, white-skinned varieties for Louisiana home gardens. Heirloom potato varieties are available from a variety of sources. And, if a potato from the supermarket isn’t used in a timely manner and starts to sprout, yes, it can be planted and, yes, it will produce potatoes (ask me how I know this). Cut “seed potatoes” into smaller pieces, about 2 ounces each, with each piece having one or two eyes. Some sources recommend curing the pieces for a few days before planting so the cut ends scab over. Some sources also recommend coating the cut edges with horticultural sulfur or other powdered fungicide to prevent rotting, but this is not necessary if your soil has good drainage. Plant Irish potatoes in rows that are spaced four to six feet apart in soil that is acidic and friable (easily dug). Each section of seed potato should be planted three to four inches deep at twelve-inch intervals. As the vines start to sprawl, hill soil up around them periodically to create more underground space for tuber formation and to completely cover tubers that have already been formed. After 60 to 70 days, try sneaking a few “new” potatoes from under the plants. Don’t be greedy; every little new potato could grow into a large keeper later in the season. Dig the crop when plants start to yellow and die off. Start about one foot on either side of the plants and work inward toward the center of the row. Tubers injured during digging should be used immediately. Otherwise, gently brush away any loose soil and store them at 55° F in a humid area. Save the smaller tubers from the spring crop for a fall crop planted in late summer when seed potatoes aren’t in stores.
As always, let me know if you have questions about planting, pruning, starting seeds, potatoes, or anything else in your garden or landscape!